How to Create Your First React App
 React
React This quick tutorial will get you set up with your first React app in no time! We'll use create-react-app, a ready-made React starter application that provides all the files and dependencies you'll need to get going right away without having to mess around with Webpack and Babel configurations.
Step 1: Set Up the Development Environment
- 1. Install NodeJS: Go to the NodeJS website and download the latest stable version for your operating system. Once downloaded, follow the installation instructions.
- 2. Verify the installation: Run the following commands to ensure NodeJS installed properly:
node -v
npm -v
You should see the NodeJS and npm versions output in the terminal.
Step 2: Create A New React App
- 1. In your command prompt, navigate to the directory where you want to create your app.
- 2. Run the following command to create a new React app:
npx create-react-app [my-app]
Replace [my-app] with whatever app name you'd like to use in all lowercase letters. This command will create a new directory with all necessary files and dependencies.
- 3. Once completed, navigate to the newly created directory:
cd [my-app]
Step 3: Start the Development Server
- 1. Run the following command to start the React development server:
npm start
A new browser window will launch your application at http://localhost:3000.
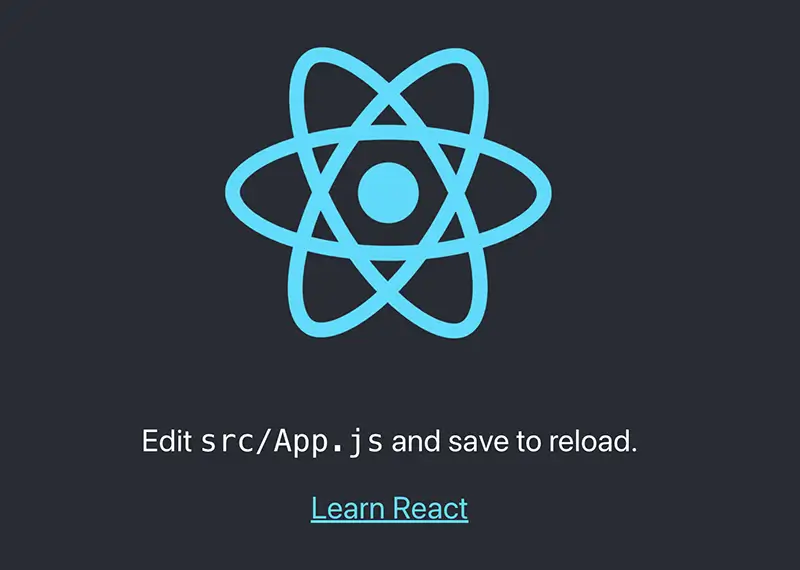
- 2. You should now see a "Welcome to React" page in your browser.
Conclusion
That's it! You've successfully created your first React app! Easy, huh?
Now, you can start building out your components and make modifications in the src code directory.
As long as you keep your application running in your terminal window, updates made to the source code will appear in your web browser automatically after saving.
Check out more React developer resources.
Written by: Josh Rowe
Last Updated: January 01, 2025Created: July 07, 2023