Mastering Vue CLI: Streamline Your VueJS Development
 Vue
Vue Vue CLI (Command Line Interface) is a user-friendly and powerful tool that enhances the development workflow for building Vue.js applications. It simplifies the setup and management of Vue projects, providing a standardized structure, development tools, and a streamlined process for building, testing, and deploying applications.
This tutorial will cover everything you need to know about Vue CLI, from installation to advanced configurations and plugins. Key features include:
- Interactive project creation
- Zero configuration setup
- Extensible via plugins and presets
- Built-in development server
- Hot module replacement (HMR)
- Integrated unit and E2E testing
- Linting and formatting tools
How to Install Vue CLI
To get started, install it via npm (Node Package Manager). Ensure you have Node.js installed on your system, then run the following command in your terminal:
# npm install -g @vue/cli
This command installs Vue CLI globally, making it accessible from any directory on your machine.
Now, verify the installation by checking the version:
# vue --version
Creating a New Vue Project
Now you can create a new Vue.js project with a single command:
# vue create [my-project]
Vue CLI offers two main options during project creation: the default preset and manual configuration. The default preset includes essential features like Babel, a JavaScript compiler, and ESLint, a static code analysis tool, both suitable for most projects.
The manual configuration option allows you to customize various aspects, such as:
- Project name
- Project description
- Use of TypeScript
- CSS preprocessors (Sass, Less, etc.)
- Linter/formatter
- Unit testing solutions (Jest, Mocha)
- E2E testing solutions (Cypress, Nightwatch)
Project Structure
A typical Vue.js project follows a standardized structure:
my-project/
|--- node_modules/
|--- public/
| |--- index.html
| |--- favicon.ico
|--- src/
| |--- assets/
| |--- components/
| |--- views/
| |--- App.vue
| |--- main.js
|--- .gitignore
|--- babel.config.js
|--- package.json
|--- README.md
|--- vue.config.js
node_modules/:Contains all the project's dependencies.public/:Holds static assets and the main HTML file.src/:Contains the source code of the application.components/:Reusable Vue components.views/:Components associated with routes.App.vue:The root component.main.js:The entry point for the application.vue.config.js:Configuration file.
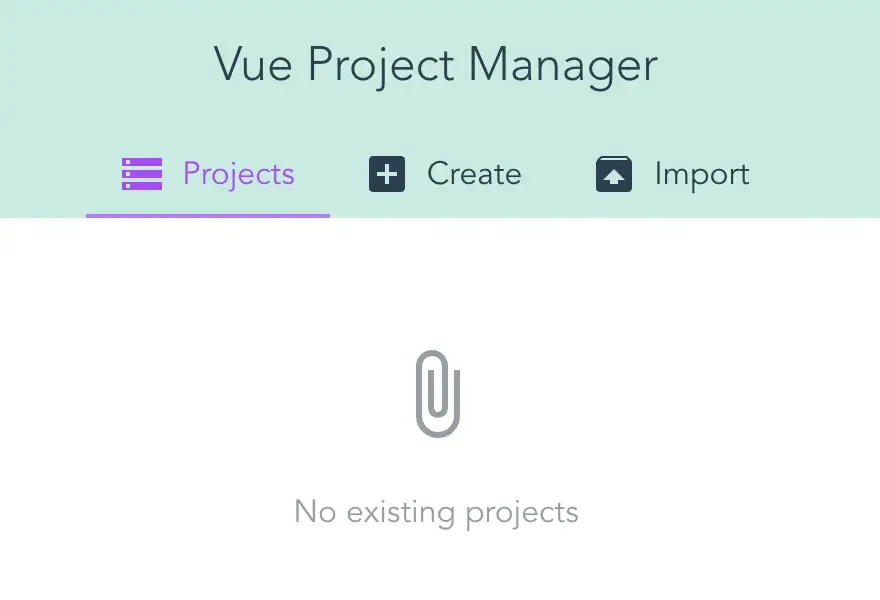
Vue UI
Vue CLI also provides a GUI (Graphical User Interface) to manage projects. You can start it with:
# vue ui
A browser window will open where you can create, configure, and manage Vue projects visually.
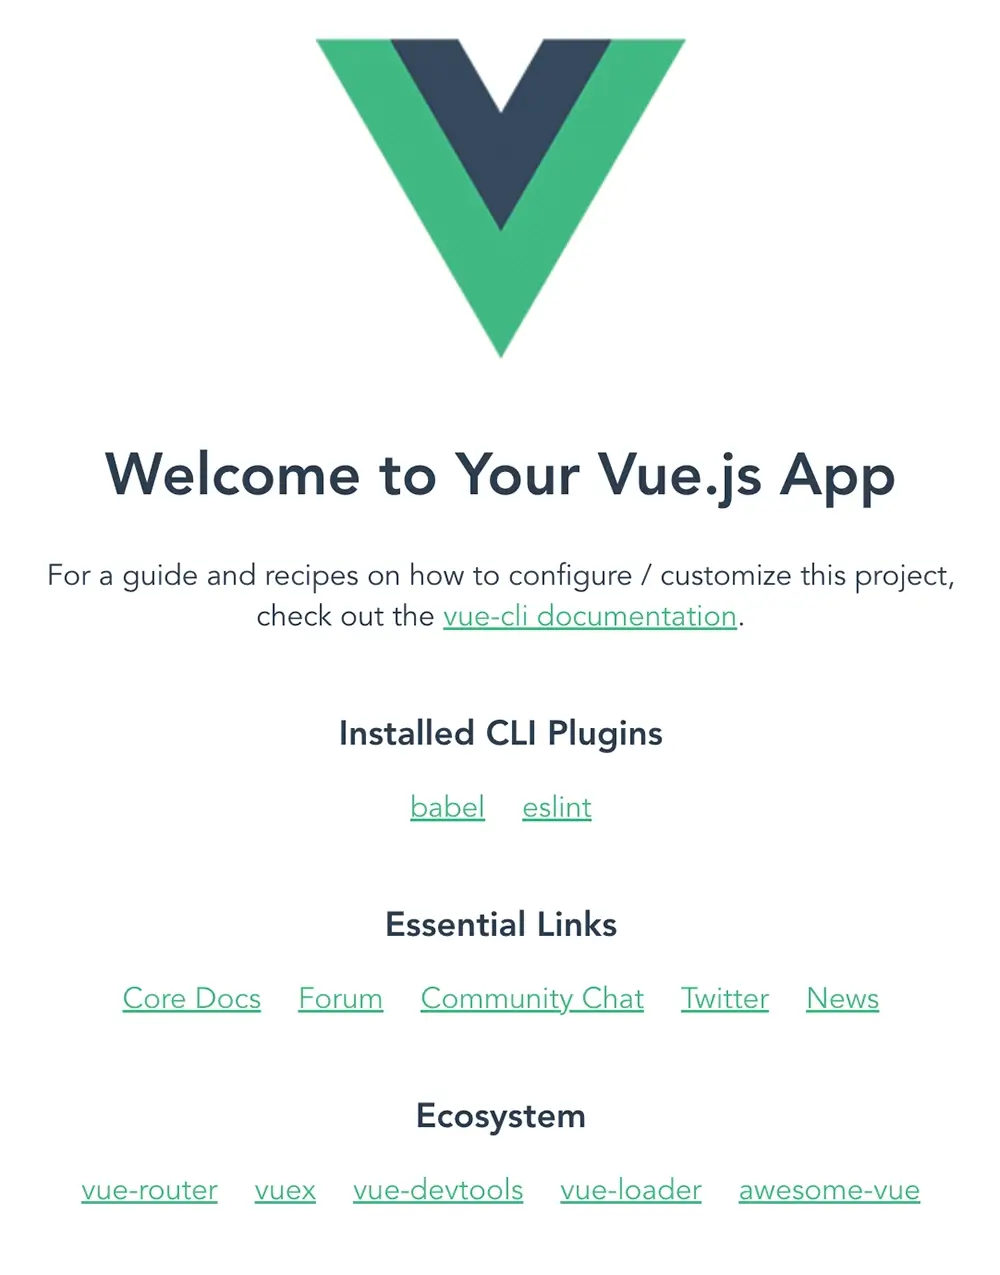
Running the Development Server
Vue CLI comes equipped with a built-in development server that supports HMR (Hot Module Replacement), making the development experience smooth and efficient. To start the development server, use:
# npm run serve
This command compiles the project and serves it at http://localhost:8080 by default.
Building for Production
To build a production application, use the following command:
# npm run build
This command generates optimized and minified files in the dist/ directory, ready for deployment.
Configuration and Customization
Vue CLI is designed to work out of the box but also offers extensive customization options. Configuration can be done in the following areas:
Configure vue.config.js
This file allows you to modify the internal webpack configuration. You can customize almost any aspect of the build process. For example:
module.exports = {
	devServer: {
		port: 8081
	},
	lintOnSave: false,
	chainWebpack: config => {
		config.module
			.rule('vue')
			.use('vue-loader')
			.tap(options => {
				return options
			}
		)
	}
}
Environment Variables
Environment variables can be used to configure your application for different environments. To define environment-specific variables, create .env, .env. production, or .env. development files in the root directory.
VUE_APP_API_URL=https://api.example.com
Access these variables in your application using process.env.VUE_APP_API_URL.
Plugins
Vue CLI has a rich plugin system that extends its functionality. Plugins can add features like TypeScript support, PWA capabilities, and more. You can add plugins during project creation or later using the CLI:
# vue add @vue/cli-plugin-typescript
Some popular plugins include:
@vue/cli-plugin-babel- JavaScript compiler@vue/cli-plugin-eslint- Static code analysis tool@vue/cli-plugin-typescript- Open-source programming language that adds static typing to JavaScript@vue/cli-plugin-pwa- Progressive Web App plugin for production environments
Unit Testing
Vue CLI integrates seamlessly with popular testing libraries like Jest and Mocha for unit testing. You can set up unit testing during project creation or by adding the relevant plugin:
# vue add @vue/cli-plugin-unit-jest
To run tests, use:
# npm run test:unit
E2E Testing
E2E (End-to-End) testing is crucial for ensuring the application works as expected. Vue CLI supports Cypress and Nightwatch for E2E testing. Set it up during project creation or by adding the plugin:
# vue add @vue/cli-plugin-e2e-cypress
Run E2E tests with:
# npm run test:e2e
Linting and Formatting
Vue CLI includes ESLint for code linting and Prettier for code formatting. You can configure ESLint during project setup or add it later:
# vue add @vue/cli-plugin-eslint
Lint your code with:
# npm run lint
Deploying Vue Applications
Deploying a Vue application involves building the project and serving the static files. You can deploy to various platforms, such as GitHub Pages, Netlify, Vercel, and traditional web servers.
You can easily deploy to GitHub Pages with the following plugin:
# vue add @vue/cli-plugin-deploy-github
Once installed, you can configure and deploy with:
# npm run deploy
Additional Tidbits
- Vue CLI Service: The
@vue/cli-servicepackage provides commands and configurations to build and serve your Vue project. You can access advanced commands and configurations through thevue-cli-servicescript. - Custom Plugins and Presets: Allows you to create custom plugins and presets to standardize the setup for your projects. Custom plugins can modify the project configuration and add additional dependencies and files.
- Modern Mode: Generates two sets of bundles: one for modern browsers with ES2015+ support and another for legacy browsers. This feature improves performance and leverages the latest browser features.
- SSR Support: Build server-side rendered (SSR) applications with the help of the
@vue/cli-plugin-ssrplugin.
Conclusion
Vue CLI is an essential tool for Vue.js developers, offering a robust and flexible solution for creating and managing Vue applications. Its intuitive interface, extensive plugin system, and powerful configuration options make it a must-have for both beginners and experienced developers.
By leveraging Vue CLI, you can streamline your development process, ensure best practices, and focus on building high-quality applications!
Written by: Josh Rowe
Created: May 23, 2024