How to Crop Image Whitespace with JavaScript
 JavaScript
 In this tutorial, you'll learn how to crop an image with JavaScript, removing unnecessary whitespace from the image's edges programmatically.
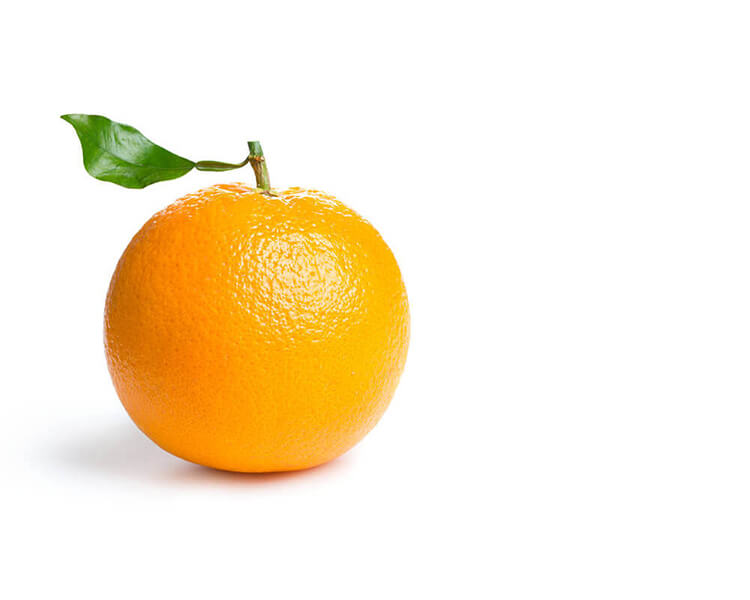
We'll go from this image with a ton of unnecessary whitespace:
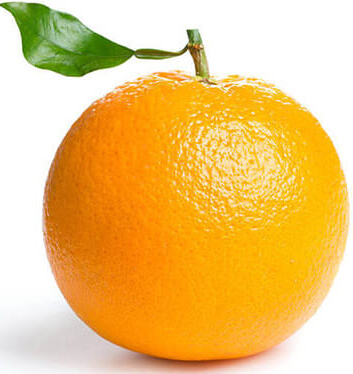
To this, effectively cropping all the whitespace around the image edges:
Create the canvas Element
To start, we'll just need to create a canvas element on the page with an ID of canvas:
<canvas id="canvas"></canvas>
The remainder of the code will be JavaScript, and we'll walk through everything piece by piece.
Create the Variables
First, let's create some variables that we'll use throughout the code:
var image = new Image();
var canvas = document.getElementById("canvas");
var context = canvas.getContext("2d");
var data = {};
- image: A reference to our newly created image object.
- canvas: A pointer to our on-page
canvaselement. - context: An object with properties that can be used to render graphics within our
canvaselement. - data: A custom object we'll use to store our image data.
Load the Image
Now, we'll load our before image into our newly created image object. We'll then update the canvas width and height to reflect the dimensions of the image after it has fulled loaded, then we'll draw the image to the canvas element. Finally, we'll call our custom cropImage() function that we'll go into shortly:
image.onload = function () {
	canvas.width = this.width;
	canvas.height = this.height;

	context.drawImage(this, 0, 0, image.width, image.height);

	cropImage();
};

image.src = "example-before.jpg";
Crop the Image
Our custom cropImage() method packs a lot of functionality, calling other methods to complete the image crop in its entirety:
function cropImage() {
	data = context.getImageData(0, 0, image.width, image.height).data;

	var top = scanY(true);
	var bottom = scanY(false);
	var left = scanX(true);
	var right = scanX(false);

	var new_width = right - left;
	var new_height = bottom - top;

	canvas.width = new_width;
	canvas.height = new_height;

	context.drawImage(image, left, top, new_width, new_height, 0, 0, new_width, new_height);
}
We're storing the image data in our custom data variable, which we'll be using in just a minute.
Then, we're going to continue through another set of functions, scanX() and scanY(), that will effectively crop the whitespace from all edges of our image.
Now, we'll store the new image width and height in two new local variables, new_width and new_height, that we'll use to reset our canvas dimensions and draw the final image to the canvas element.
Scan the Image Edges
We'll start with cropping the left and right edges of the image:
function scanX(left) {
	var offset = (left) ? 1 : -1;

	for (var x = ((left) ? 0 : image.width - 1); ((left) ? (x < image.width) : (x > -1)); x += offset) {
		for (var y = 0; y < image.height; y++) {
			if (!isColor(getRGB(x, y))) {
				return x;
			}
		}
	}

	return null;
}
The left parameter of the scanX() function determines whether we're cropping the left or right side of the image. Since the functionality is very similar for both edges, it makes sense to do this versus rewriting almost the same code.
Code reuse is your friend. If there's any way you can condense or simplify your code in any way that seems reasonable or useful, you should do so to keep everything clean while still fully functional.
Next, we'll loop through the image from either the left or right edge, whichever we specify as the parameter, then move until we find a non-white pixel. The isColor() and getRGB() methods determine if the pixel is pure white or not, and return so accordingly. The loop continues until a non-white pixel is found, then the x coordinate of the image for that pixel is returned to the main function.
The method returns null if both edges of the image have been tested with no ability to crop.
Similarly, we'll do the same thing for the top and bottom edges of the image:
function scanY(top) {
	var offset = (top) ? 1 : -1;

	for (var y = ((top) ? 0 : image.height - 1); ((top) ? (y < image.height) : (y > -1)); y += offset) {
		for (var x = 0; x < image.width; x++) {
			if (!isColor(getRGB(x, y))) {
				return y;
			}
		}
	}

	return null;
}
Determine Each Pixel's Color
A pixel's color value is determined by three color attributes, the presence of red, green, and blue. A value of 0 expresses a total absence of color while a value of 255 expresses the full presence of color.
The isColor() method was created to determine this programmatically, returning a boolean value of true for the full absensce of color or false for any presence of color:
function isColor(rgb) {
	return rgb.red == 255 && rgb.green == 255 && rgb.blue == 255;
}
And we have the getRGB() method for grabbing those RGB values between 0 and 255:
function getRGB(x, y) {
	return {
		red: data[((image.width * y) + x) * 4],
		green: data[((image.width * y) + x) * 4 + 1],
		blue: data[((image.width * y) + x) * 4 + 2]
	};
}
Conclusion
That's all there is to it! Cropping image whitespace is a fairly simple task, requiring some knowledge of JavaScript to get down and dirty with some effective functionality.
If this tutorial provides the answer you're looking for, you can download the full code example from my GitHub repository.
Written by: J. Rowe, Web Designer & Developer
Last Updated: April 03, 2023Created: April 25, 2022