How to Upload Files to an S3 Bucket with NodeJS
 NodeJS
 In this tutorial, you'll learn how to upload files to an AWS S3 Bucket using NodeJS. It's a pretty straightforward process and requires little setup and programming. On that note, let's get started!
What is Amazon S3?
Amazon S3, or Simple Storage Service, is an object and file storage service offered through AWS, Amazon Web Services, allowing for storage of any file type imaginable at a low monthly cost.
Files can be uploaded on Amazon's servers using buckets. An Amazon S3 bucket is a cloud storage resource available through AWS, which can be organized in a folder hierarchy structure similar to a file manager on your computer. Each file can contain its own descriptive metadata, making it easy to organize and manage your files stored.
It's easy to set up an AWS account and it's free to get started.
Create a New User
Once you've signed up for your AWS, you'll want to create a new user under the IAM, Identity & Access Management, portal of AWS. You can do so by running a search in the AWS portal header like this:
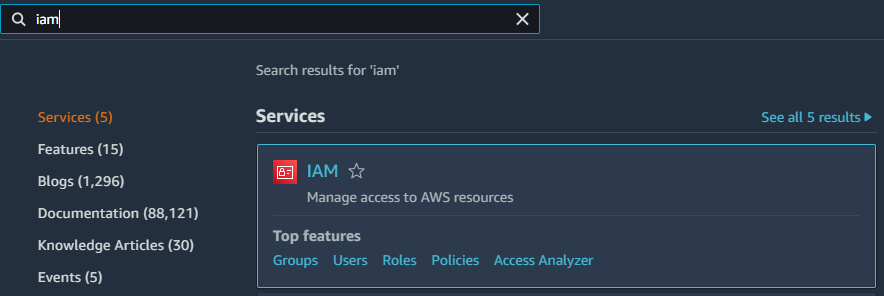
Click on the IAM option, then click the Users option in the left pane, and click the Add Users button to reach the user creation screen:
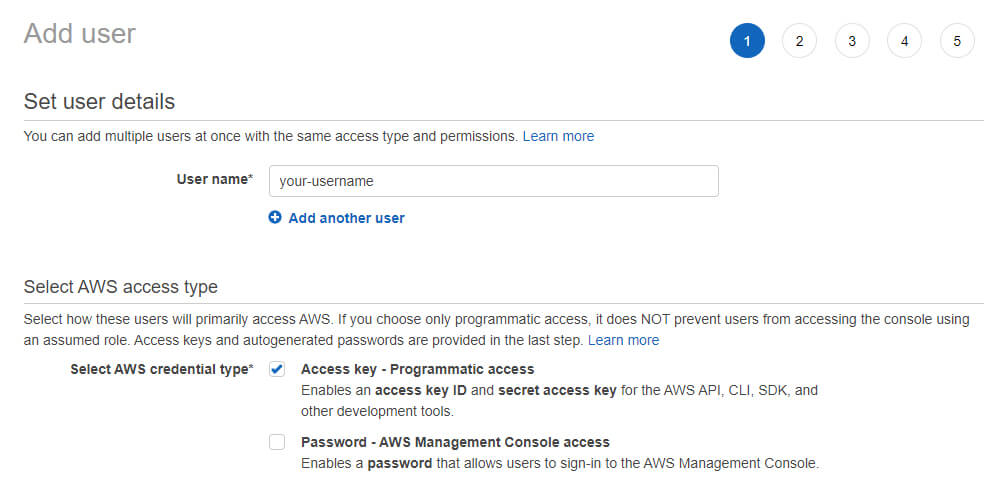
Make sure to enter a unique user name and select the Access key - Programmatic access checkbox so we can successfully access the S3 bucket from NodeJS.
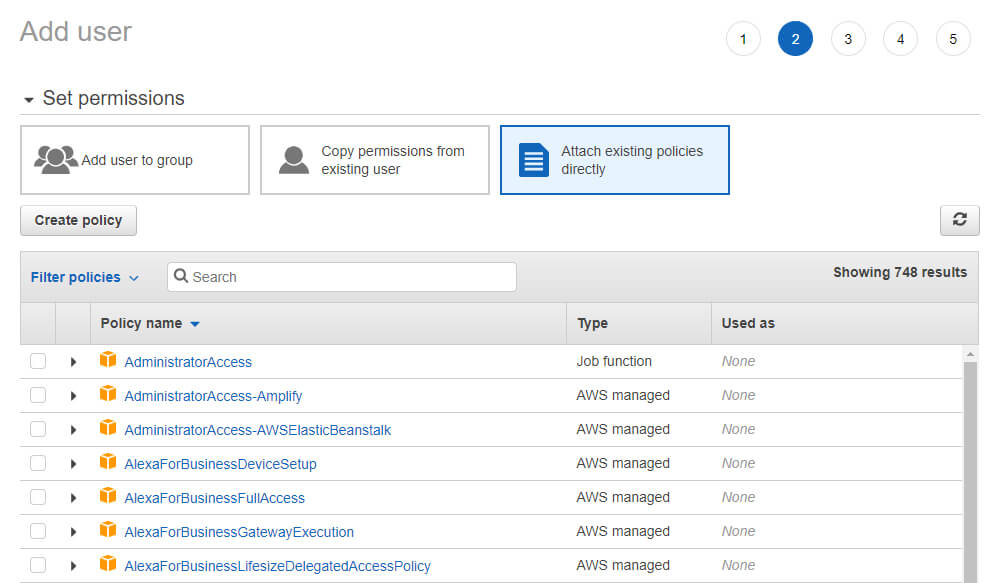
Next, we'll need to check the Attach existing policies directly option:
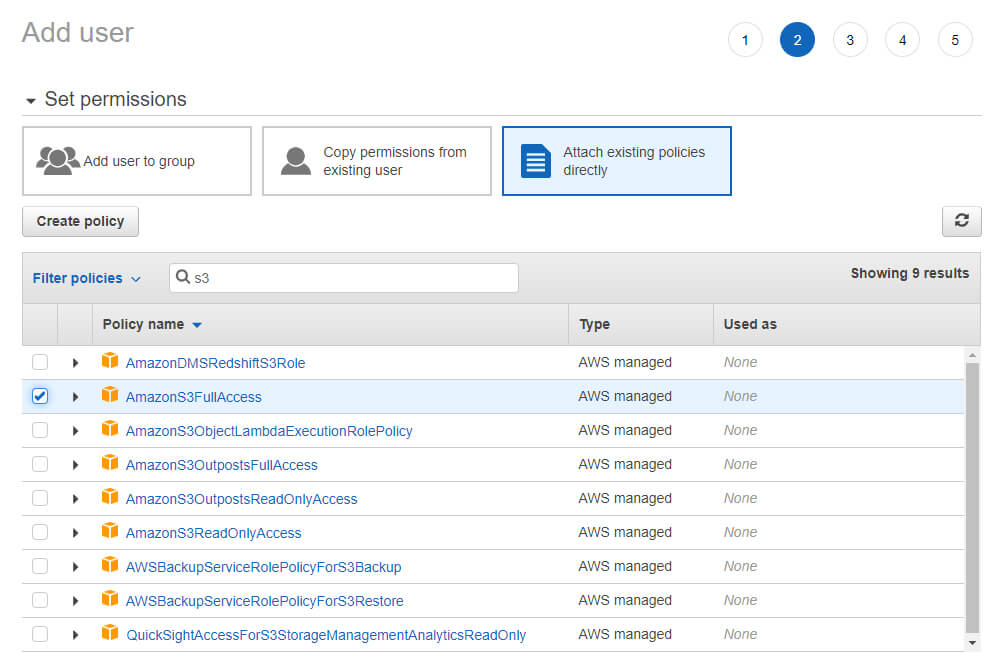
Then, we'll need to filter the policies and check the AmazonS3FullAccess option so we can grant full upload access to our NodeJS application:
Click the Next buttons until you get to the end of the user creation wizard, then click the Create user button to finish.
Set Up an S3 Bucket
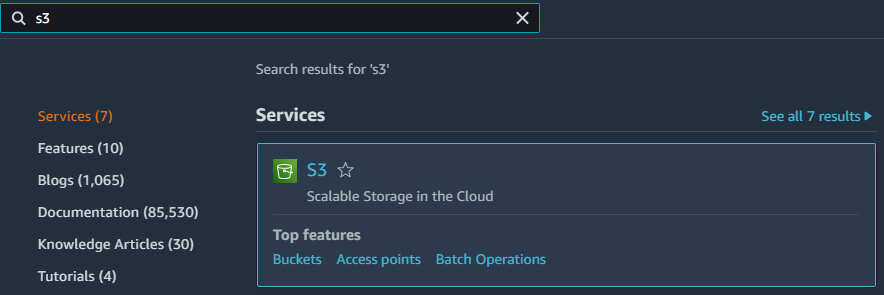
Now, we'll need to create an S3 bucket. From the portal header, search for S3:
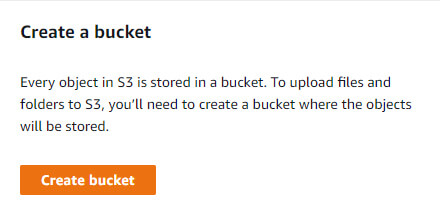
On the next screen, you'll see a section to create a new S3 bucket. In here, click the "Create bucket" button to proceed:
Finally, enter a unique name for your S3 bucket, avoiding spaces and uppercase letters, and select an AWS region to host your bucket:
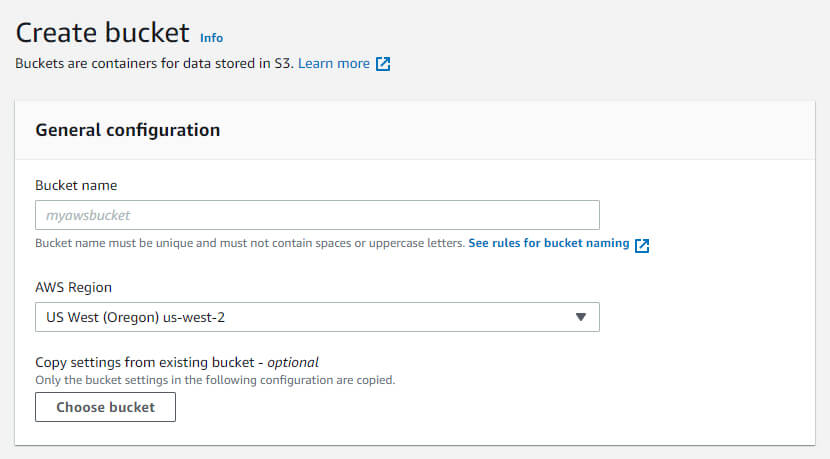
Once you've entered in your information, scroll down to the bottom of the page and click the Create bucket button.
Use NodeJS to Upload Files to S3
Now that we've created our AWS user and S3 bucket, we can create some functionality in NodeJS to upload files to our S3 bucket.
First, we'll need to create a .env file to store our environment variables for our application. In this example, we'll call it process.env:
AWS_ACCESS_KEY_ID=[access_key]
AWS_SECRET_ACCESS_KEY=[secret_key]
AWS_BUCKET_NAME=[bucket_name]
Next, we'll need to install the aws-sdk library using the command line:
npm install aws-sdk
Now, we'll need to import the newly installed library into our application so we can utilize its functionality:
import AWS from 'aws-sdk';
Now, let's initialize the S3 object so we can communicate with the newly installed AWS library:
const s3 = new AWS.S3({
	accessKeyId: process.env.AWS_ACCESS_KEY_ID,
	secretAccessKey: process.env.AWS_SECRET_ACCESS_KEY
});
To finish everything up, we'll now upload a file to the S3 bucket:
const filename = "[my-file-name]";
const content = fs.readFileSync(filename);

const params = {
	Bucket: process.env.AWS_BUCKET_NAME,
	Key: filename,
	Body: content
};

s3.upload(params, (error, data) => {
	if (error) {
		reject(error);
	}
	resolve(data.Location)
});
Conclusion
When you refresh your S3 bucket in the AWS portal, you should now see your most recent uploads from the NodeJS application.
Give it a test and try different file types to see how easy and efficient the process is.
Written by: J. Rowe, Web Designer & Developer
Last Updated: May 22, 2022Created: April 19, 2022