Creating an Image Slider with Vue: A Detailed Guide
 Vue
Vue Image sliders are a fantastic way to showcase a group of images compactly and interactively. In this guide, we'll create a simple yet functional image slider using Vue, a progressive JavaScript framework. By the end of this tutorial, you'll have a solid understanding of how to implement an image slider in your Vue projects.
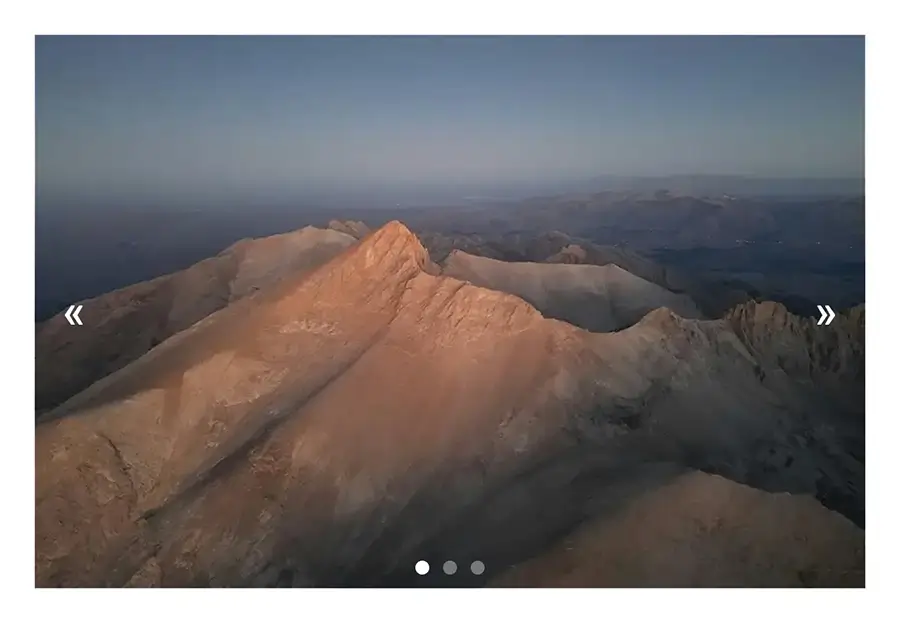 Photo by Fatih PAÇ.
Prerequisites
Before we begin, ensure you have the following prerequisites:
- Basic knowledge of JavaScript and Vue.
- Node.js and npm installed on your machine.
- Vue CLI installed on your machine.
Creating the Image Slider App
Step 1: Setting Up the Vue Project
First, create a new Vue project using Vue CLI. Open your terminal and run the following commands:
# vue create image-slider
Choose the default preset or customize it according to your preferences. The default at the time of this writing is Vue 3
Now, navigate to your new project folder:
# cd image-slider
Step 2: Project Structure
Navigate to your project's src folder. Your project structure should look like this:
src/
|--- assets/
|--- components/
| |--- HelloWorld.vue
|--- App.vue
|--- main.js
Step 3: Creating the ImageSlider Component
Rename the file HelloWorld.vue to ImageSlider.vue inside the components folder. This component is responsible for rendering the image slider.
First, we'll add the Vue template to the file. Here, we'll have two buttons to navigate forward and backward from the current position in the image slider, along with individual indicators for each image to navigate to a single image quickly.
Each span tag is an indicator for an individual image, storing the index, or position of the image in the slider, an active class if the stored index matches the current index, and a click handler to navigate directly to that image and make it active.
<template>
	<div class="image-slider">
		<div class="slider">
			<img :src="images[currentIndex]" :alt="'Image ' + currentIndex">
		</div>

		<button @click="prevImage" class="nav prev">«</button>
		<button @click="nextImage" class="nav next">»</button>

		<div class="indicators">
			<span
				v-for="(image, index) in images"
				:key="index"
				:class="{'active': index === currentIndex}"
				@click="goToImage(index)"
			></span>
		</div>
	</div>
</template>
Second, we'll add the JavaScript code to the same file, containing function calls for our click handlers so we can navigate between each image in the slider.
<script>
	export default {
		data() {
			return {
				currentIndex: 0,
				images: [
					"path/to/image1.jpg",
					"path/to/image2.jpg",
					"path/to/image3.jpg"
				]
			};
		},
		methods: {
			prevImage() {
				this.currentIndex = (this.currentIndex === 0) ? this.images.length - 1 : this.currentIndex - 1;
			},
			nextImage() {
				this.currentIndex = (this.currentIndex === this.images.length - 1) ? 0 : this.currentIndex + 1;
			},
			goToImage(index) {
				this.currentIndex = index;
			}
		}
	};
</script>
When compiling, you may see an error stating Irregular whitespace not allowed. To circumvent this error, add this commented text just after the openingscripttag:/* eslint-disable */
Third, we'll add the styling for our image slider:
<style>
	div.image-slider {
		width: 100%;
		max-width: 600px;
		position: relative;
		margin: auto;
		overflow: hidden;
	}

	div.slider {
		width: 100%;
		height: 400px;
		display: flex;
		justify-content: center;
		align-items: center;
	}

	div.slider img {
		width: 100%;
		height: auto;
	}

	button.nav {
		border: none;
		background: transparent;
		font-size: 30px;
		color: white;
		padding: 10px;
		cursor: pointer;
		position: absolute;
		top: 50%;
		transform: translateY(-50%);
	}

	button.nav.prev {
		left: 10px;
	}

	button.nav.next {
		right: 10px;
	}

	div.indicators {
		width: 100%;
		position: absolute;
		bottom: 10px;
		display: flex;
		justify-content: center;
	}

	div.indicators span {
		width: 10px;
		height: 10px;
		border-radius: 50%;
		background: #777;
		margin: 0px 5px;
		cursor: pointer;
	}

	div.indicators span.active {
		background: white;
	}
</style>
Step 4: Using the ImageSlider Component
Now that we have our ImageSlider component let's use it in our App.vue file.
<template>
	<div id="app">
		<ImageSlider />
	</div>
</template>

<script>
	import ImageSlider from "./components/ImageSlider.vue";

	export default {
		name: "App",
		components: {
			ImageSlider
		}
	};
</script>

<style>
	div#app {
		font-family: Arial, sans-serif;
		color: #2c3e50;
		text-align: center;
		margin-top: 60px;
	}
</style>
Step 5: Adding Image Paths
Replace the image paths in the images array within ImageSlider.vue with the actual paths to your images. You can place your images in the assets folder and reference them like this:
images: [
	"./assets/image-1.webp",
	"./assets/image-2.webp",
	"./assets/image-3.webp"
]
And place the images in the public/assets/ directory of your project.
Step 6: Running the Application
Save all your changes and run the application using the following command:
# npm run serve
Open your browser and navigate to http://localhost:8080. You should see your image slider in action.
Conclusion
Congratulations! You've successfully created a simple image slider using Vue. This basic implementation can be further enhanced with additional features such as autoplay, swipe gestures for mobile devices, and more advanced animations. Vue's reactive nature makes it an excellent choice for building interactive components like this image slider.
You can clone the complete example from my GitHub Repository and update the image slider to make it your own! Have fun!
Written by: Josh Rowe
Last Updated: May 23, 2024Created: May 21, 2024